Gmail Auth2
Step 1: Creating a New Project
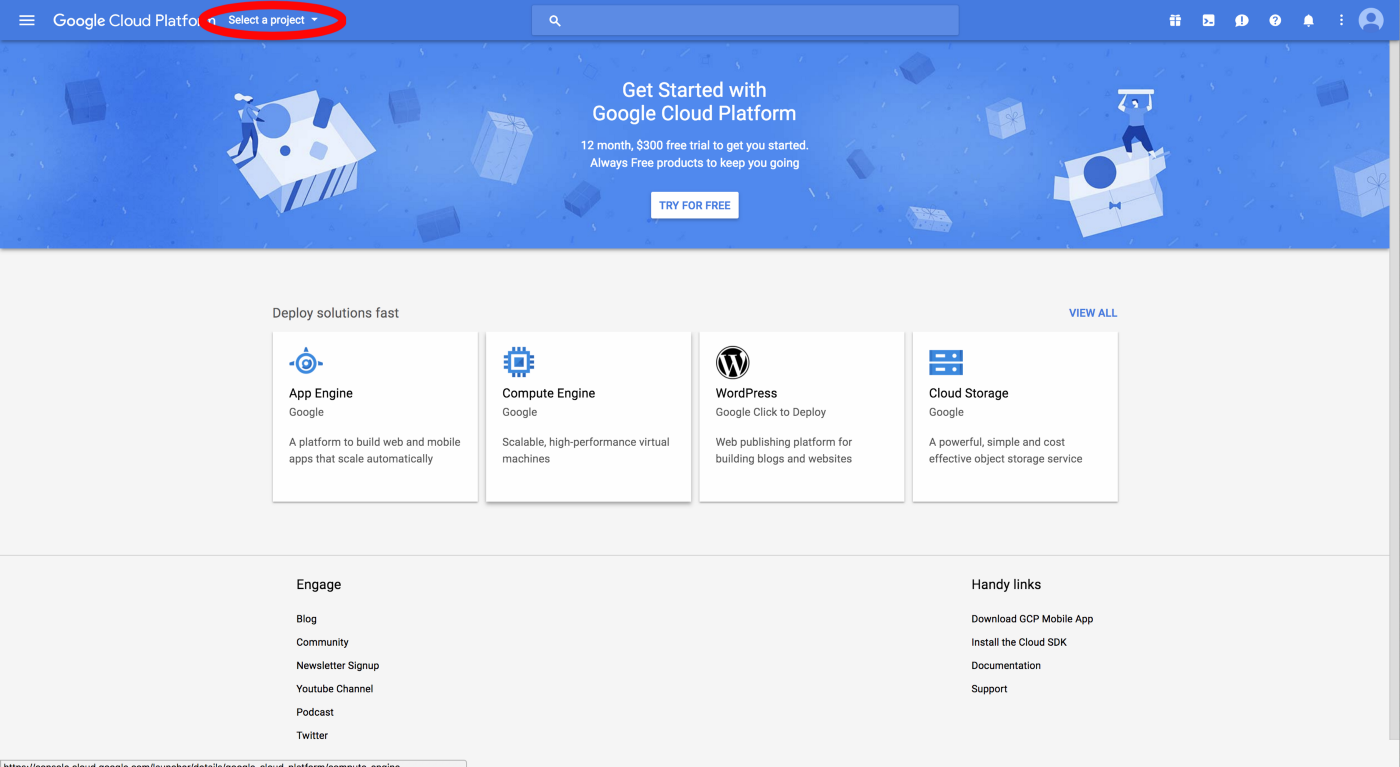
The first thing we have to do is make a new project in the Google Developer Console. Once in the console, press Select a project in the top left corner.
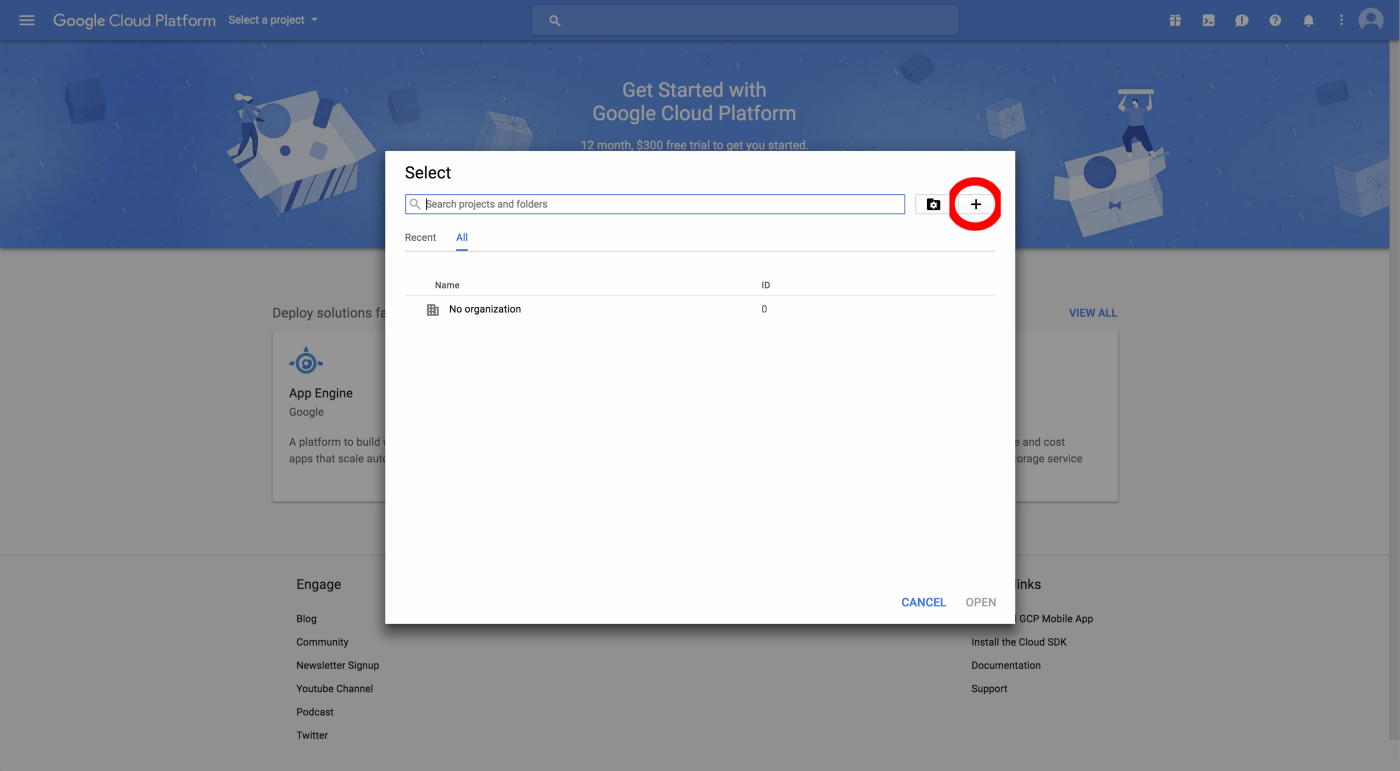
Once the window opens, press the + icon in the top right corner to create a new project.
You’ll be brought to a new page to name your project. Once you give your project a name, press Create. It’ll take about 15 seconds for your project to be created, then go to Select a project again and select your project.
Step 2: Create API Credentials
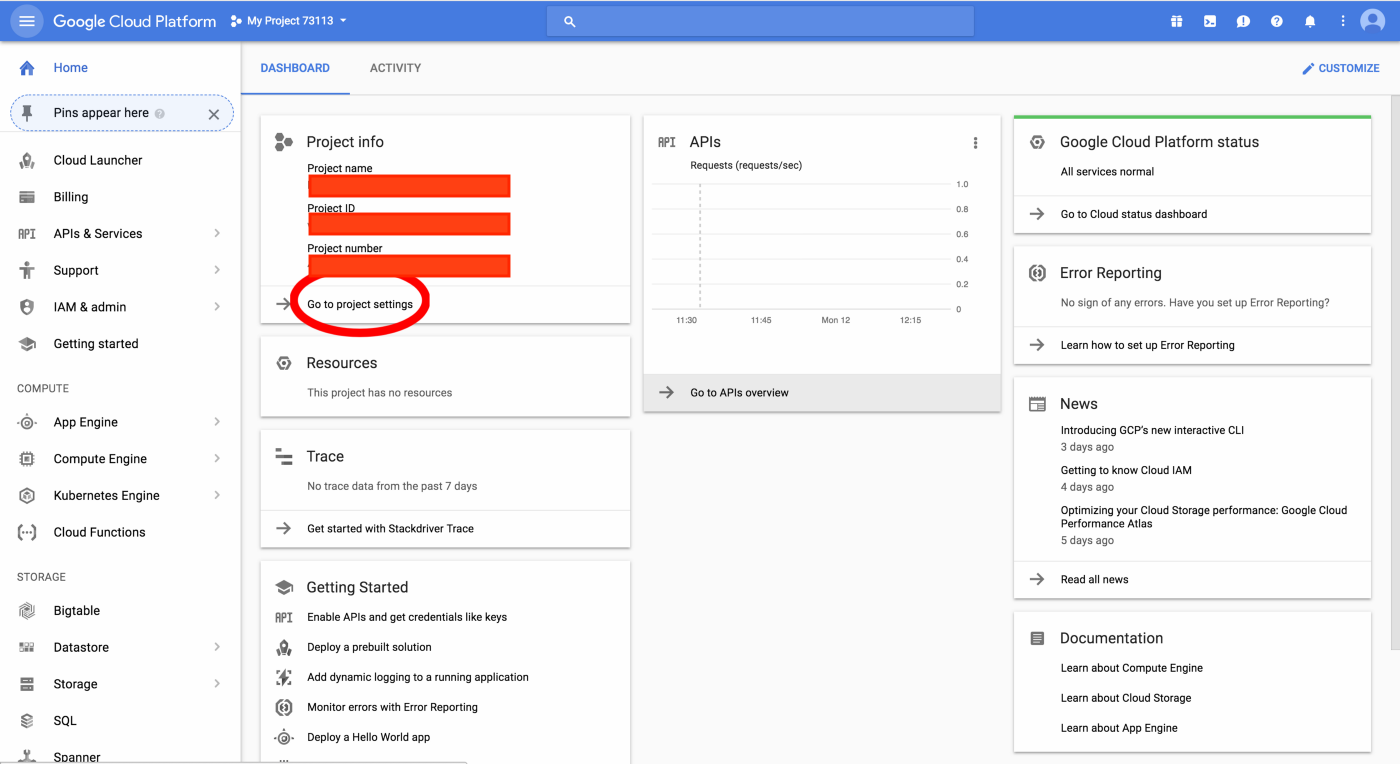
Now that you have a new project, we have to give your project credentials! You should be on the project dashboard. It looks kind of intimidating right? Most of it isn’t necessary for what we need to do, all we have to do right now is open the project settings. Click Go to project settings at the bottom of the Project Info section of the dashboard.
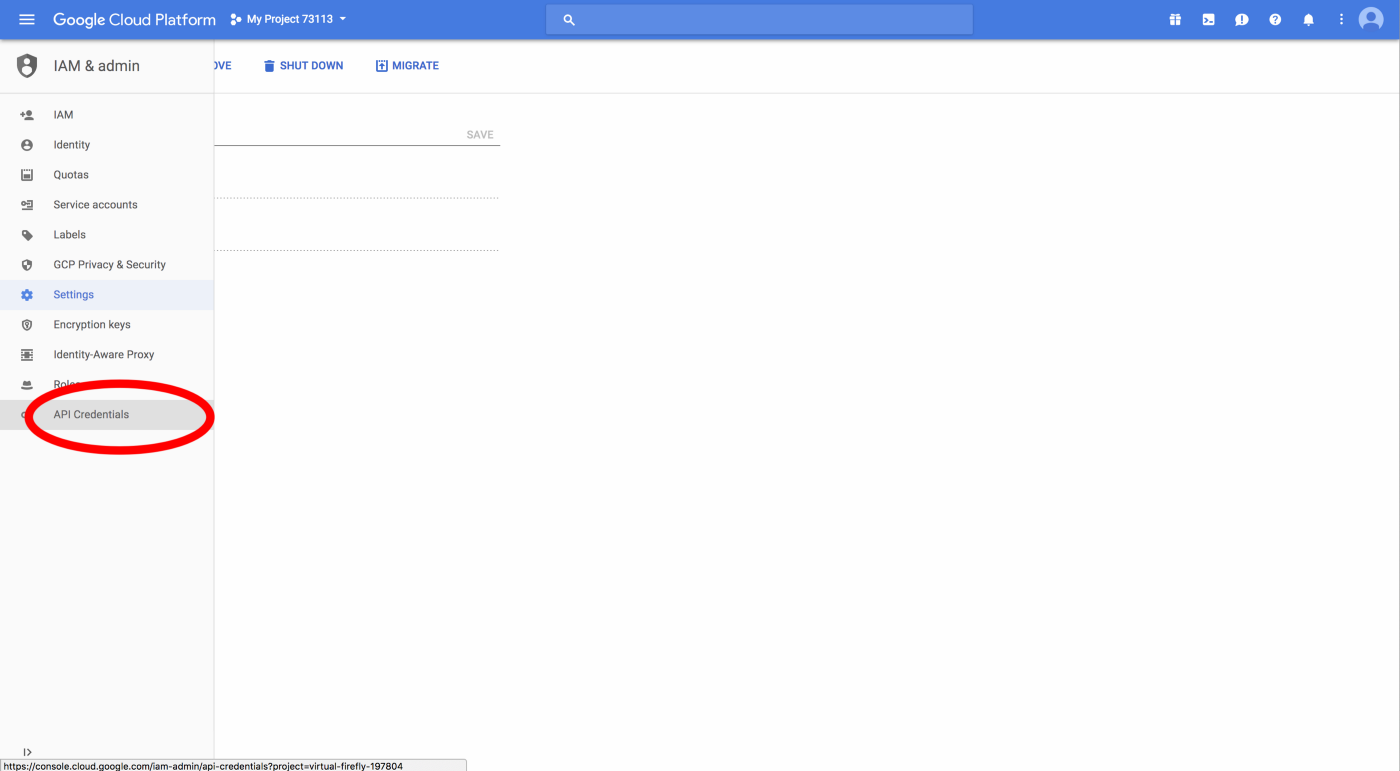
In your project settings, there is a sidebar on the left with a bunch of different options. Click the last one that says API Credentials.
(I noticed that in another account I didn’t see the API Credentials tab on the sidebar in project settings. If this happens, go back to the dashboard and select Go to APIs overview under the APIs tab and select Credentials in the sidebar.)
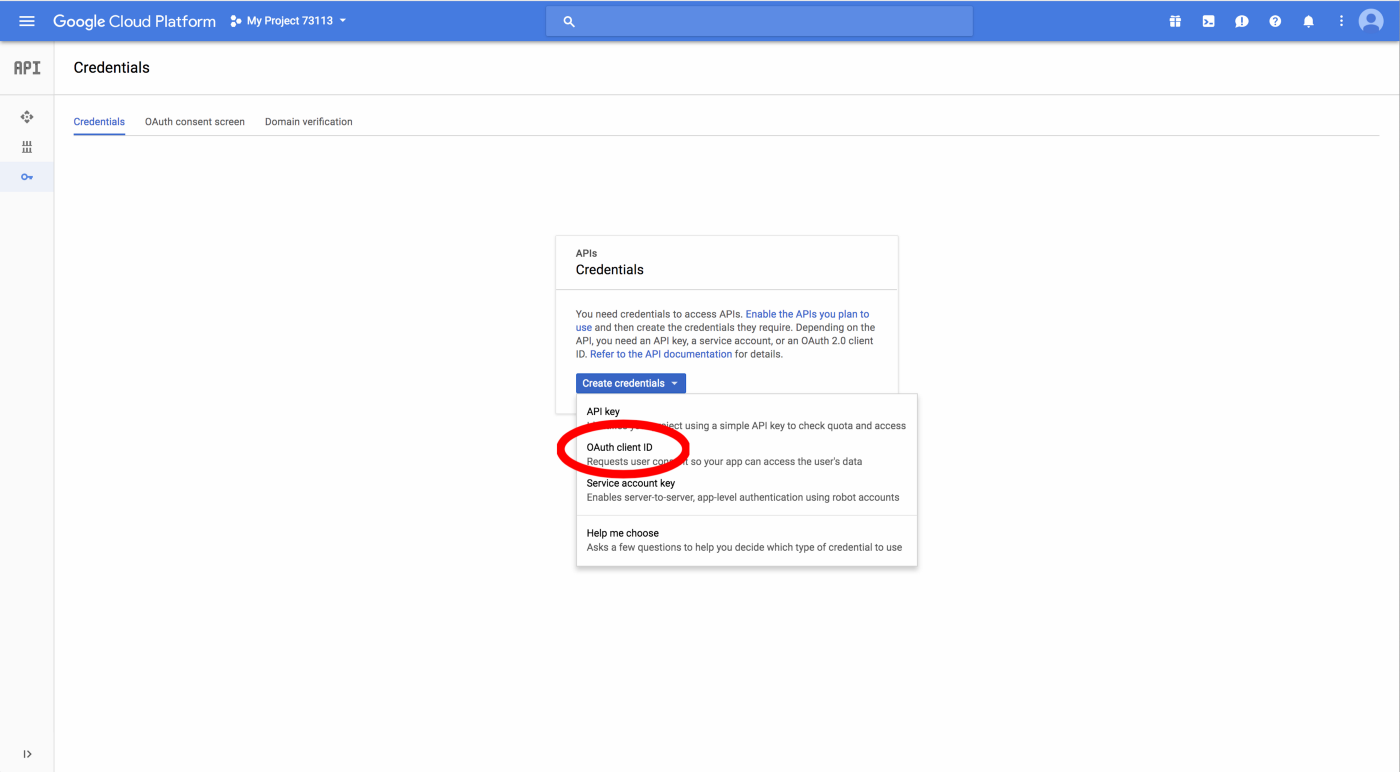
Now you’re in a pretty bare page with just one section called “API Credentials”. Click the dropdown that says Create Credentials and choose OAuth client ID from the list.
You should see a little warning banner near the top of the page:
To create an OAuth client ID, you must first set a product name on the consent screen
Just press the Configure consent screen button on the banner and it’ll let you name your “product”. It doesn’t matter what you call it, just give it a name and press Save, then you should be redirected back to the Create client ID page.
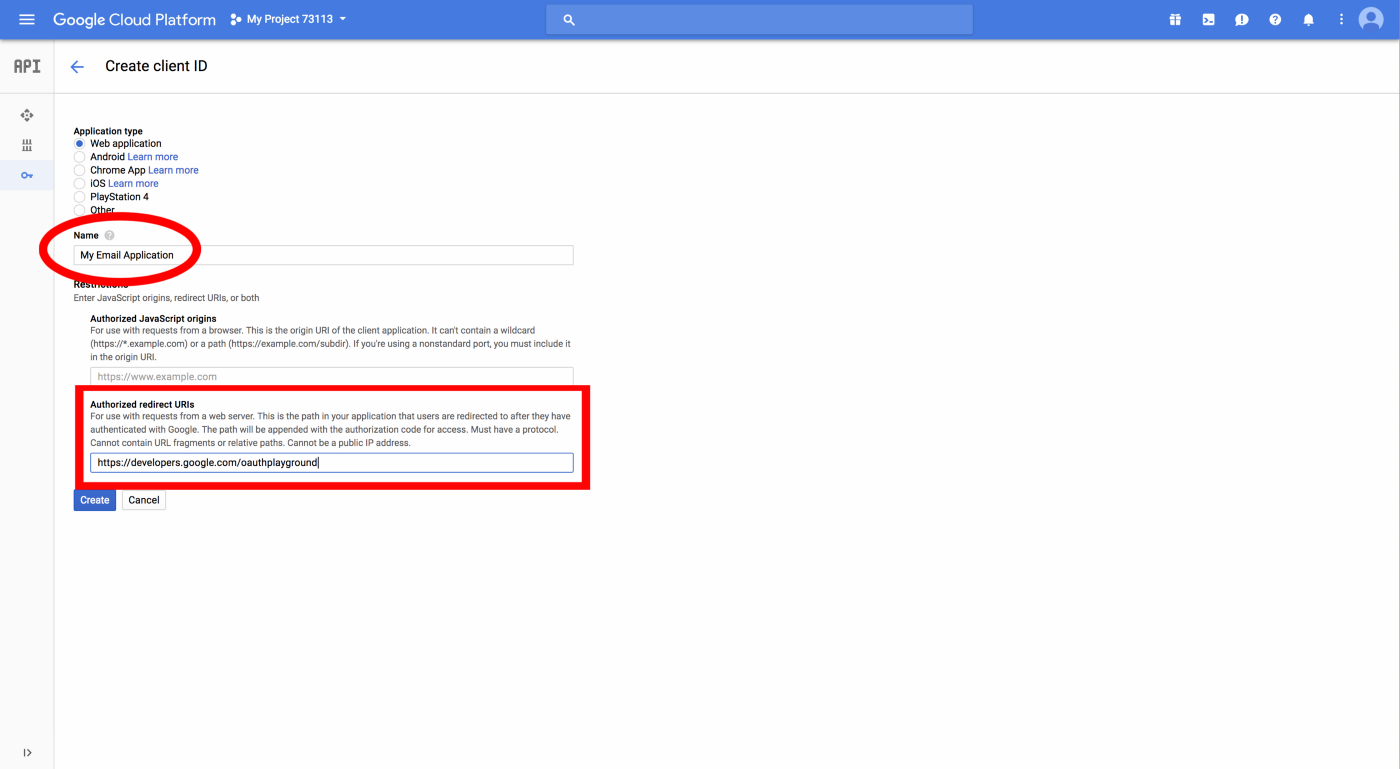
Now under Application Type, choose Web Application and a small form will open up with sections for Name and Restrictions. You can give your client ID any name you like, but under Restrictions in the Authorized redirect URIs section add https://developers.google.com/oauthplayground. Now press Create!
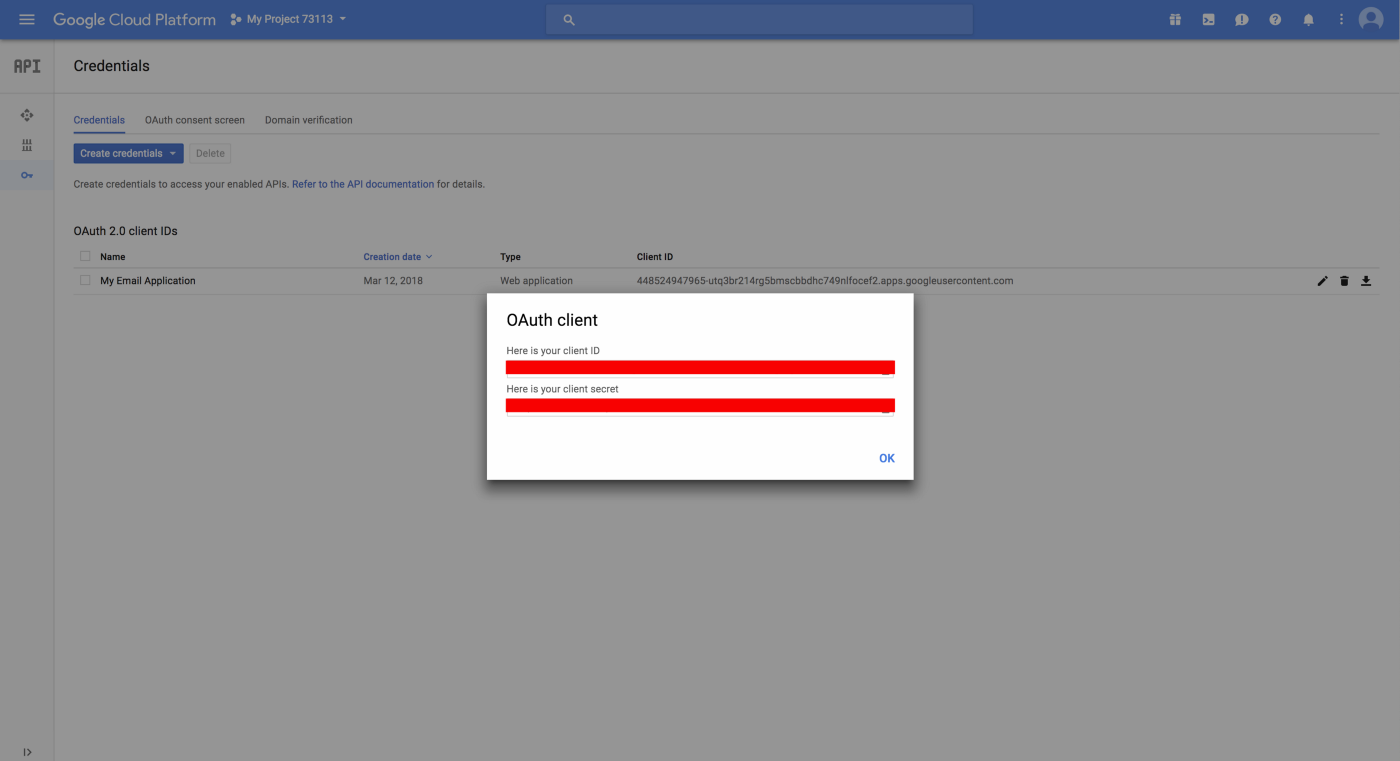
Step 3: Save your Client ID and Client Secret
You should’ve been redirected to a page with a small “card” in the center with your client ID and client secret. Make sure to save these somewhere, you’ll need them soon! If you accidentally clicked out of that card before you could save your ID and secret, just click the name of your client ID and it’ll take you to its settings with the ID and secret at the top of the page!
Step 4: Configure OAuth
We need just a few more things before we get to the code. First, go to https://developers.google.com/oauthplayground and click the tools icon in the top right. Check the box that says Use your own OAuth credentialsand enter your client ID and secret. Without closing out of the settings, enter https://mail.google.com/ into the box in the Select and authorize APIs section and press Authorize APIs. You should get a very scary-looking screen that looks like this:
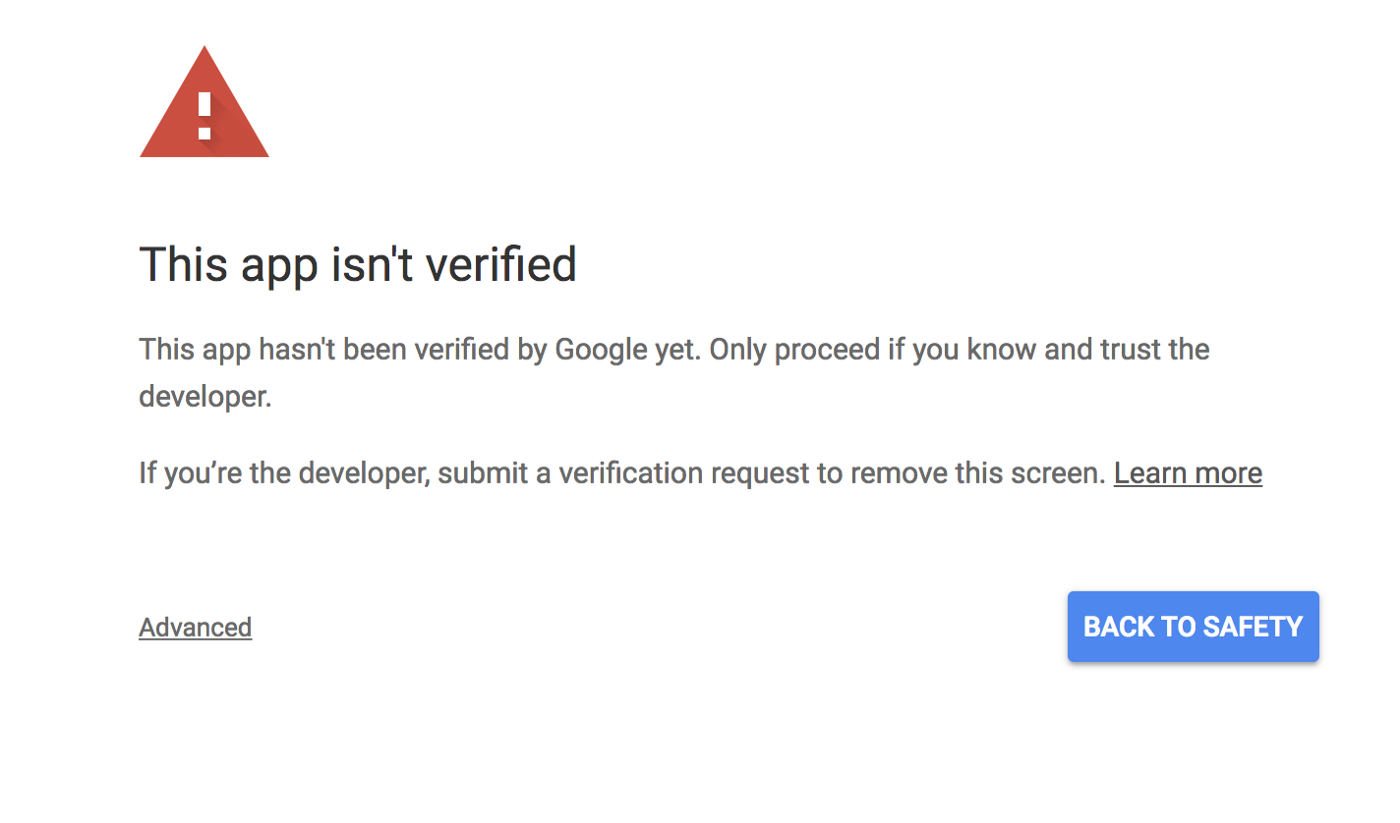
Nothing to worry about, this just means Google hasn’t confirmed our app is okay to use (duh, we just made it). Click the Advanced button on the left and then press Go to Your App’s Name (unsafe). We get another, less intimidating screen that looks like this:
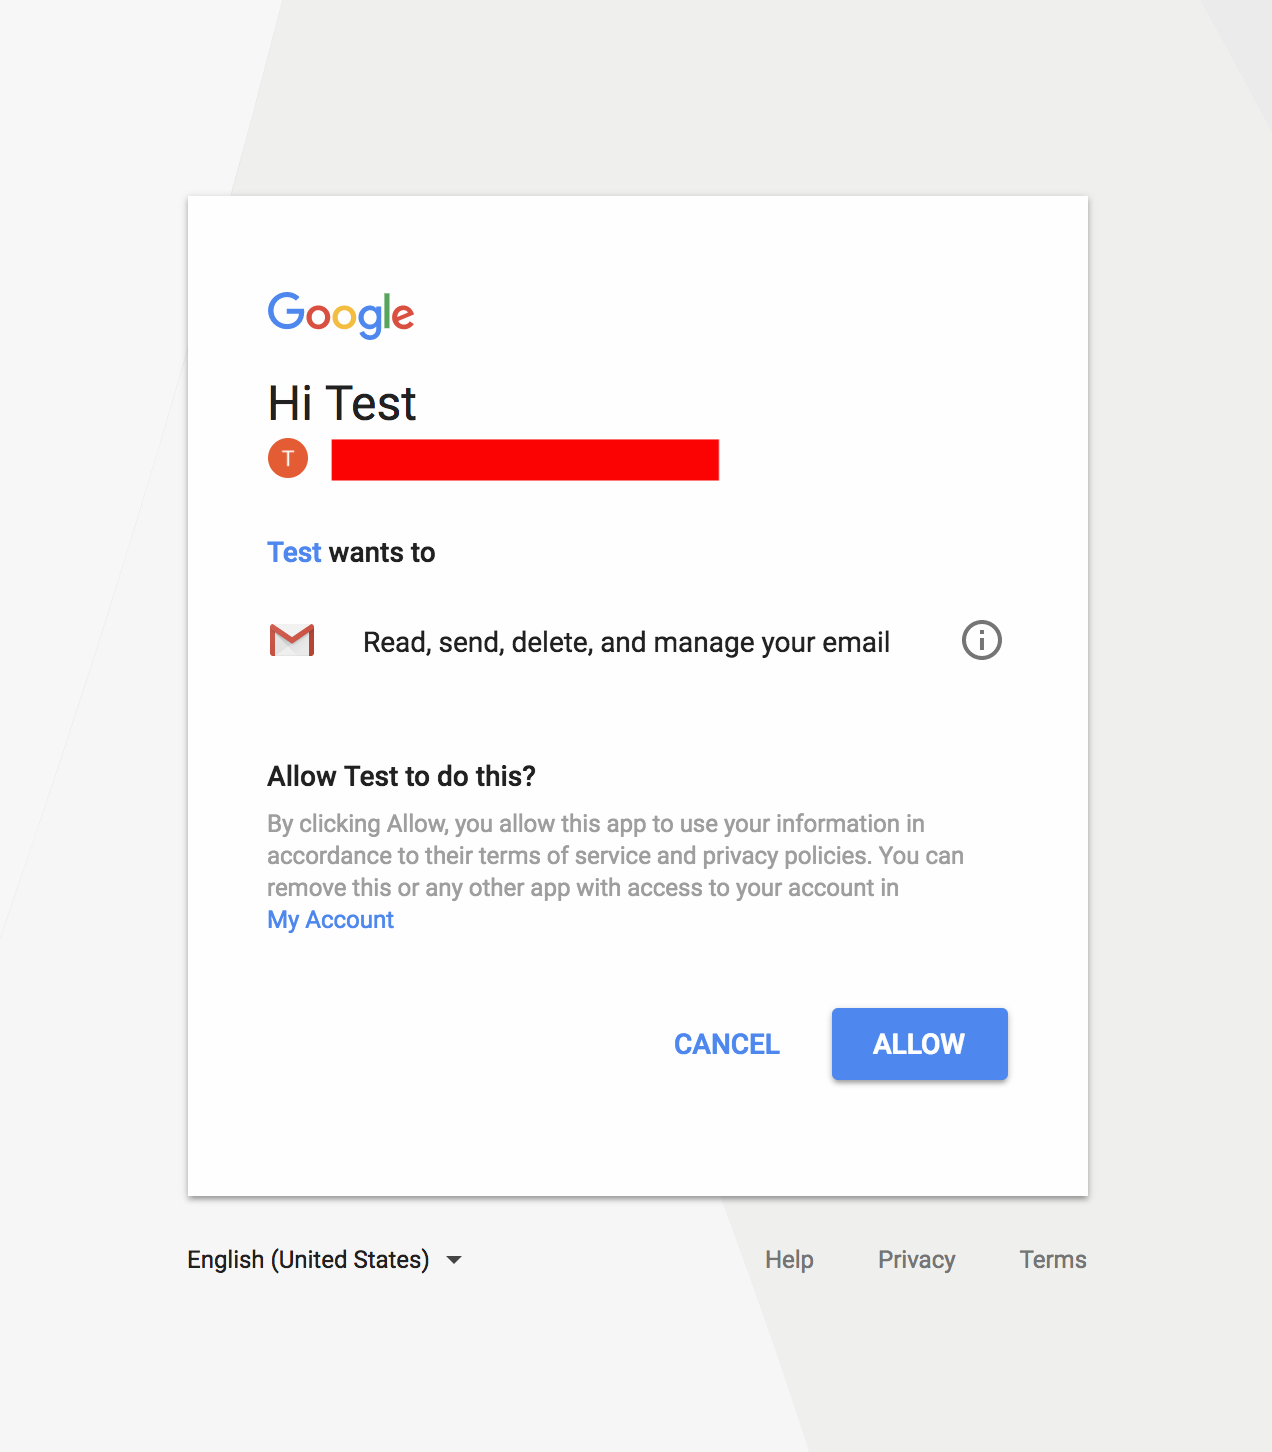
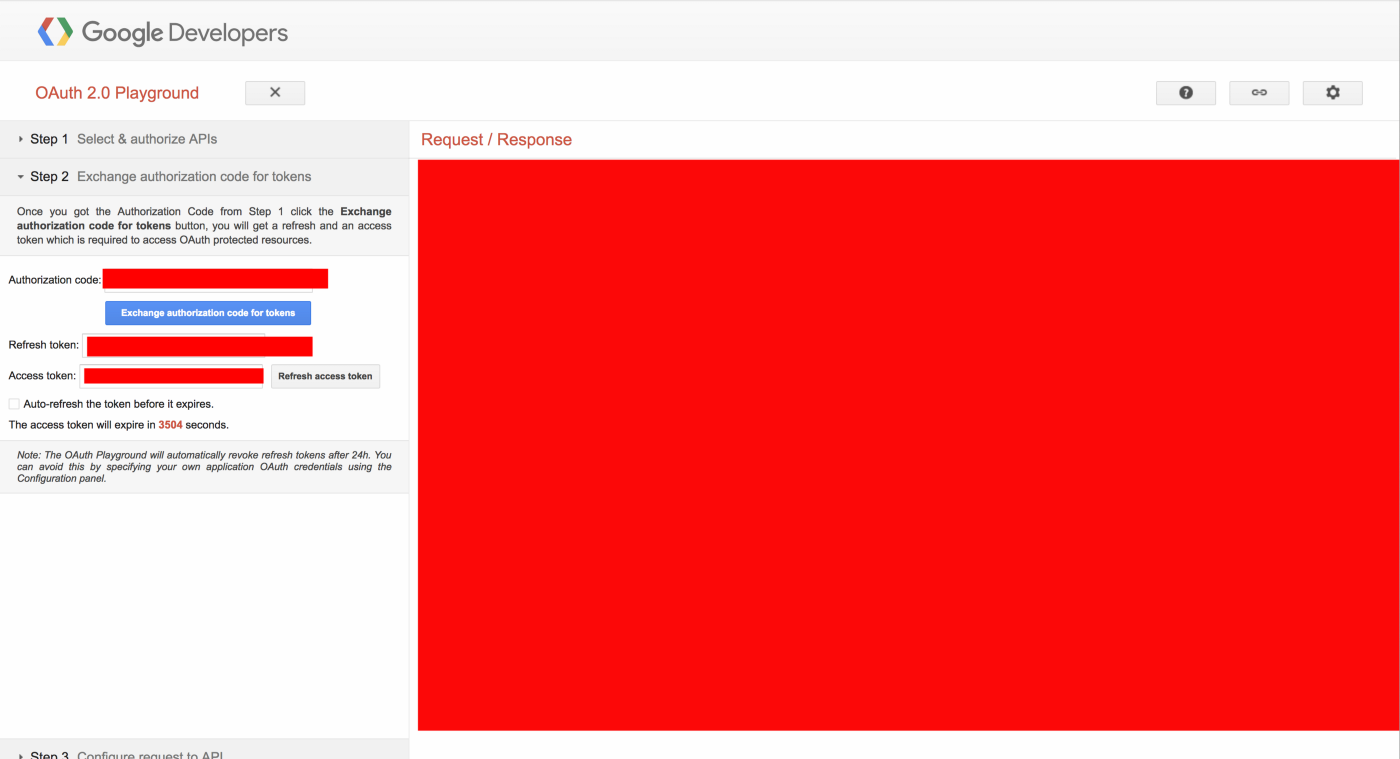
Click Allow and you should get redirected back to the OAuth page. Now go to Step 2 of the sidebar on the left and press Exchange authorization code for tokens.
This should populate the two boxes below called Refresh token and Access token with a couple of strings. Copy down the Refresh token as we’ll need it for later!